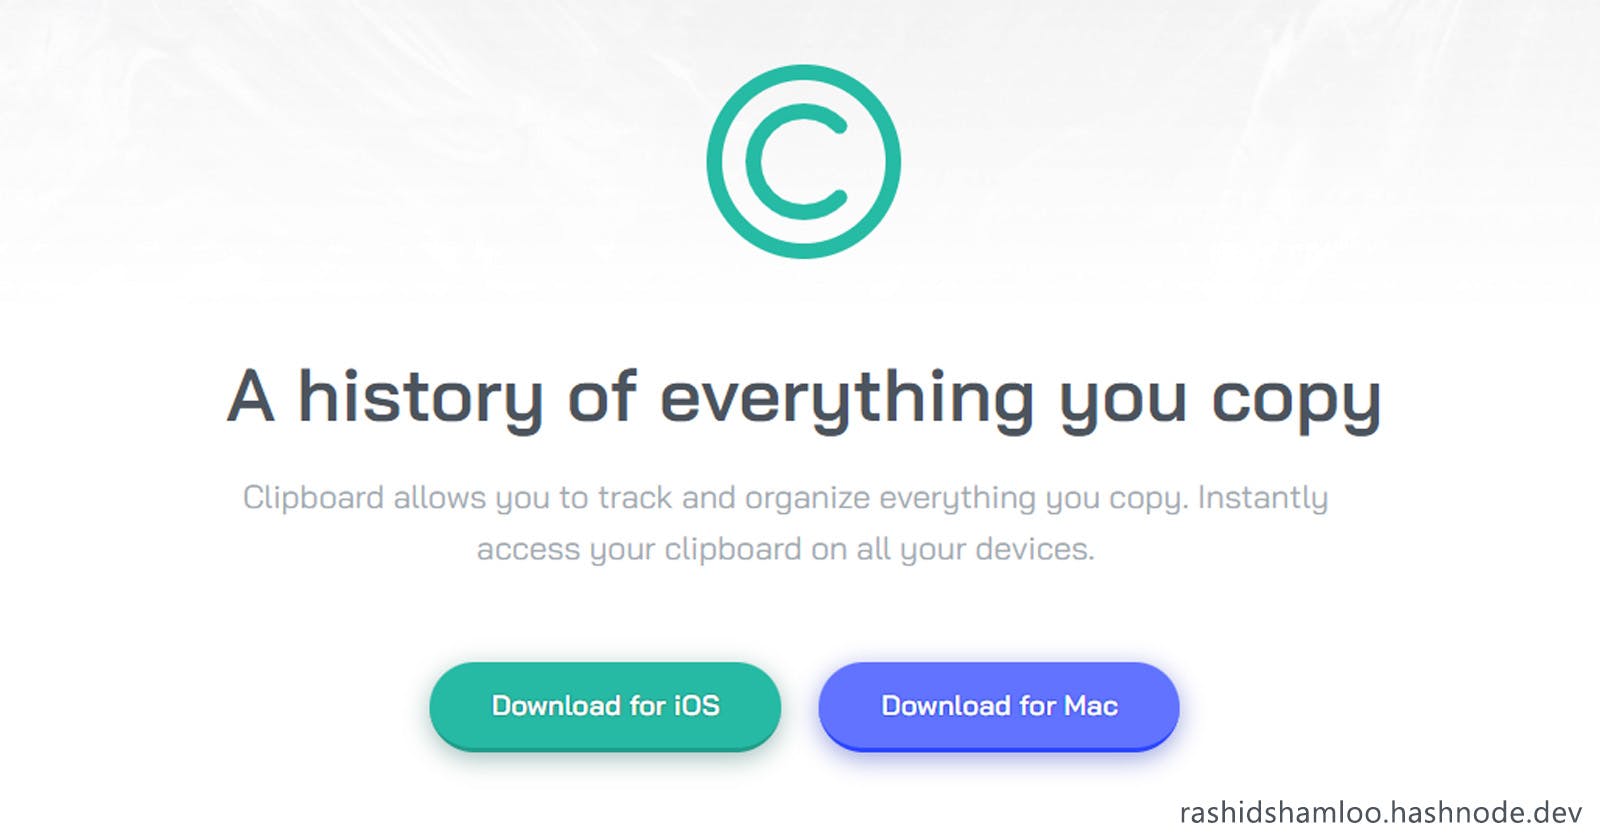


I recently completed a challenge from frontendmentor.io called Clipboard Landing Page, and because I ended up adding a few extra features and discovered some caveats while doing it, I decided to share the process I went through as it could be helpful and serve as a future reference.
You can check the source of my solution on GitHub or view the working live demo.
So without further ado, let's get started.
1. Start
I started this challenge to learn more about Material UI by using only the Material UI components like Box,Link,Typography instead of div,a,p and to practice customizing different Material UI components. (in my last challenge I only used the Switch and Slider components) Adding animations to different page elements was another goal and I chose this challenge specifically because the layout looked suitable for that. My last goal was to learn more about using TypeScript with React and Material UI in particular.
2. Material UI Customization
This section became too long so I moved it to another post. you can check it out here.
3. Scroll Snapping (Full Page Scroll)
I spent some time looking at different libraries to see what I can use but they were either outdated, didn't work smoothly, or were paid and required a license. so I decided to implement it by myself. fortunately, we have access to some awesome CSS properties like scroll-snap-type, scroll-snap-align, and scroll-snap-stop that help us implement scroll snapping without JavaScript and using pure CSS. we just need to add scroll-snap-type: y mandatory/proximity; (to the container element and scroll-snap-align: start; and scroll-snap-stop: always; to child elements:
<ContainerElement style={{ scrollSnapType: "y mandatory" }}>
<ChildElement
  style={{
    scrollSnapAlign: "start",
    scrollSnapStop: "always"
  }} />
</ContainerElement>
scroll-snap-typedefines the direction and type of snapping. usingmandatorycauses snapping to the next snap point with the slightest scrolling. while withproximity, you have to scroll close to the next snap point before snapping happens.scroll-snap-aligndefines which part of the element we want the viewport to snap to. in this casestartor top of the element.scroll-snap-stopdefines whether we want to stop at this element when scrolling or allow scrolling over it and bypassing it. this is more obvious using touch on mobile devices.
Also, we need to set the height of the container to 100vh and the overflow-y property to scroll so we'll be scrolling inside the container instead of the body. The only caveat here is that on smaller screen sizes, the content overflows the min-height: 100vh; of the element so on smaller screens, we have to split each page into multiple pages. I tried doing that but the design in this project leaves a lot of empty spaces for some of the pages which I didn't like. so I ended up disabling scroll snapping on smaller screens.
To hide the scrollbars we can use the following style:
"&::-webkit-scrollbar": {
    display: "none",
  },
Also for the scrolling to be smooth instead of jittery, I added scroll-behavior:smooth; to the container element.
4. Animations
For animations, I used the Animate on Scroll (AOS) Library. it's pretty straightforward to setup and use:
npm i aos@next --save
npm i @types/aos --save-dev
import { useEffect } from "react";
import AOS from "aos";
import "aos/dist/aos.css";

// inside your component:
useEffect(() => {
  AOS.init({ anchorPlacement: "top-bottom" });
}, []);
whatever options you pass when initializing AOS will be applied to all elements. anchor-placement of top-bottom means the animation will trigger when the top of the element touches the bottom of the window. After that, I spent some time playing around with different settings for animation type (data-aos), duration (data-aos-duration), and delay (data-aos-delay) for different elements to achieve the effect I wanted. there is a caveat with AOS too. By default, AOS adds the event listener for scroll to the window element. but we're scrolling inside a container element, not the window so it won't work. to fix it we can use the code below which adds the aos-animate class to elements containing the data-aos attribute when they're in view which triggers the animation and removes it when they're not.
const scrollHandler = (event: Event) => {
  const aosElements = document.querySelectorAll("[data-aos]");
  let observer = new IntersectionObserver((entries) => {
    entries.forEach((entry) => {
      if (entry.intersectionRatio > 0) {
        entry.target.classList.add("aos-animate");
      } else {
        // if you remove the next line,
        // animations will only trigger once
        entry.target.classList.remove("aos-animate");
      }
    });
  });
  aosElements.forEach((element) => {
    observer.observe(element);
  });
};

useEffect(() => {
  document.addEventListener("scroll", scrollHandler, {
    capture: true,
    passive: true,
  });
  return () => document.removeEventListener("scroll", scrollHandler);
}, []);
passive: trueoption improves scrolling performance by not blocking the browser's main thread with the caveat of not being able to usepreventDefault()in the event handler.capture:truecause the event to trigger the event handler of this element before triggering the event handler for the elements beneath it.
5. Page Navigation
I made a dot/circle style navigation from scratch. it's just an element with position: fixed; at the right of the screen with links to each section's id which will scroll the page to that section when clicked. Since I wanted the dots/circles to be small for aesthetic purposes, and it meant they'd be hard to click, I've added a ::before pseudo-element to each element with a bigger size and transparent background which increases the clickable area:
"&::before": {
  content: "''",
  position: "absolute",
  inset: "-0.7rem",
  backgroundColor: "transparent",
  borderRadius: "50%",
},
Another thing I needed to do was changing the size and color of the dots/circles depending on which page is in view. To do that, I used react-intersection-observer which provides an easy-to-use hook that gives a ref you can assign to an element and an inView value that is true when the element is in view. you can also set the threshold value in the options to determine the portion of the element that needs to be in view before inView is true:
import { useInView } from "react-intersection-observer";

const [ref, iInView] = useInView({
  threshold: 0.5,
});

<Element ref={ref} />
I then pass all inView values in an array to my navigation component and change the dot/circle size and color depending on which one is true (which means that element is in view). Now it's time for the caveat! I've implemented each of my pages/sections as a functional component and you can't pass refs to functional components! if you try to do so, you will get this warning:
Warning: Function components cannot be given refs.
Attempts to access this ref will fail.
Did you mean to use React.forwardRef()?
In order to pass a ref to a functional component, React provides a function called forwardRef() which enables you to do so. you have to put the component that receives the ref inside the forwardRef() function like this:
const MyComponent = (props: propsType) => {
  return <Element />
}
// will become
import { forwardRef, Ref } from "react";

const MyComponent = forwardRef((props: propsType,ref: Ref<HTMLElement>) => {
  return <Element ref={ref} />
});
Another thing I wanted to implement was keyboard navigation with the left/right arrow keys. I thought it would be pretty straightforward. Instead of linking to a section id and doing something like document.location.href = "#section"+index, I decided to use scrollTo() function instead to scroll to the element. we can get the position of the top of an element with element.getBoundingClientRect().y but that alone is not enough. because we're scrolling inside a container and not the window, we have to add the scroll amount (scrollTop) of the container element to the top position as well:
containerElement.scrollTo(
      0,
      element.getBoundingClientRect().y +
      containerElement.scrollTop
    );
But the above code didn't work! I kept debugging and console.log() the positions but couldn't figure out what was wrong. then it just happened to me to test the page in Firefox too. and everything was working fine there! it turns out that there's a problem with scrollTo() in Chrome and you need to use setTimeout() to add a tiny delay for it to actually work:
setTimeout(() => {
  containerElement.scrollTo(
        0,
        element.getBoundingClientRect().y +
        containerElement.scrollTop
      );
}, 1);
I also added up/down arrow buttons to go to the previous/next section and ended up changing the navigation buttons to use the scrollTo() method instead of linking to each section's id, because the address bar will be cleaner (no /#sectionX) and also can be implemented using refs to section elements instead of id as well.
6. Modal
Another addition to the project is a modal window that I implemented using the Dialog component. It shows a different icon/text depending on which of the buttons is clicked and contains links to the project source and my social accounts.
Overall with this project, I took a deep dive into TypeScript and Material UI (and almost drowned...) but "what doesn't kill you, makes you stronger". so I ended up learning a lot and I think it was worth it.